
SVGs are everywhere in laser work. Logos, badges, signage, QR plates, product marks, packaging, labels. The problem is not making an SVG, it’s getting it perfect for the job you’re actually running today.
A couple of millimetres off.
Text that needs to sit just a touch higher.
A small icon that should be 10% bigger.
A background shape you want to hide for a second version.
A subtle fade you want to test before committing to a full run.
Those are the edits that eat time, because they usually show up right when you’re dialling in a layout and you want to move fast.
So today’s feature is built for speed.
Day 10 of 12 Days of Light Lane ships SVG Sublayer Editing.
You can now select individual elements inside an SVG and tweak them directly inside Light Lane, without leaving your project.
That means faster iterations, less friction, and way more control when you’re tuning designs before generating G-code.
What you can do now
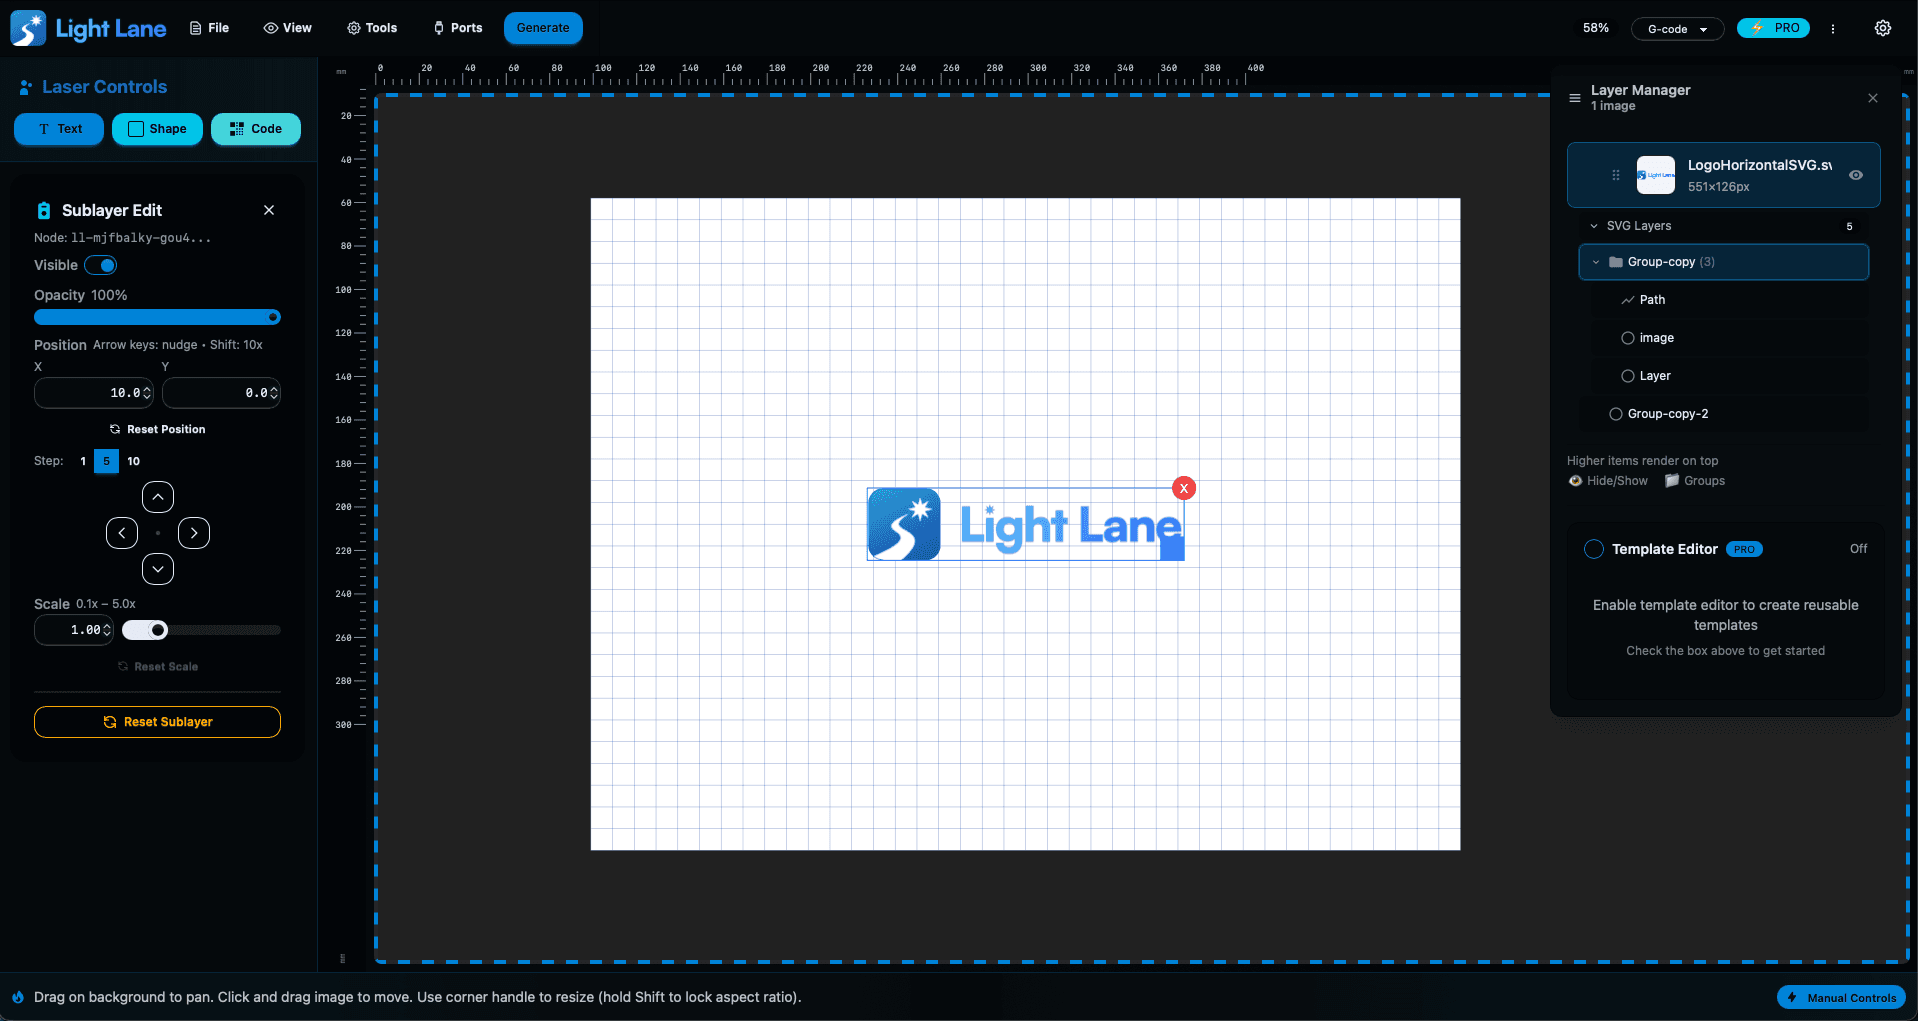
When you drop an SVG into Light Lane, you can expand it in the Layer Manager and see its sublayers. Click a sublayer and the sidebar switches into a dedicated Sublayer Edit mode, so you’re only seeing the controls that matter for that element.
1) Precise positioning (fast + accurate)
You can move sublayers in three ways:
- Arrow keys for quick nudges while your eyes stay on the canvas
- Nudge buttons for mouse-only workflows
- Exact X/Y inputs when you need precise alignment
You can also set your movement step size, so you can switch between micro-adjustments and bigger jumps in seconds.
This is the difference between “close enough” and “perfectly aligned”, especially on jobs where spacing is obvious like signage, tags, plates, or centred logos.
2) Scale sublayers, including text
Need one part of the SVG bigger without touching the rest of the artwork? Done.
- Scale any sublayer up or down
- If the sublayer is text, scaling behaves like you’d expect and adjusts text size properly
This is hugely useful when you’ve got a client logo that’s fine overall, but the tagline is too small, or one symbol needs to stand out more on the final material.
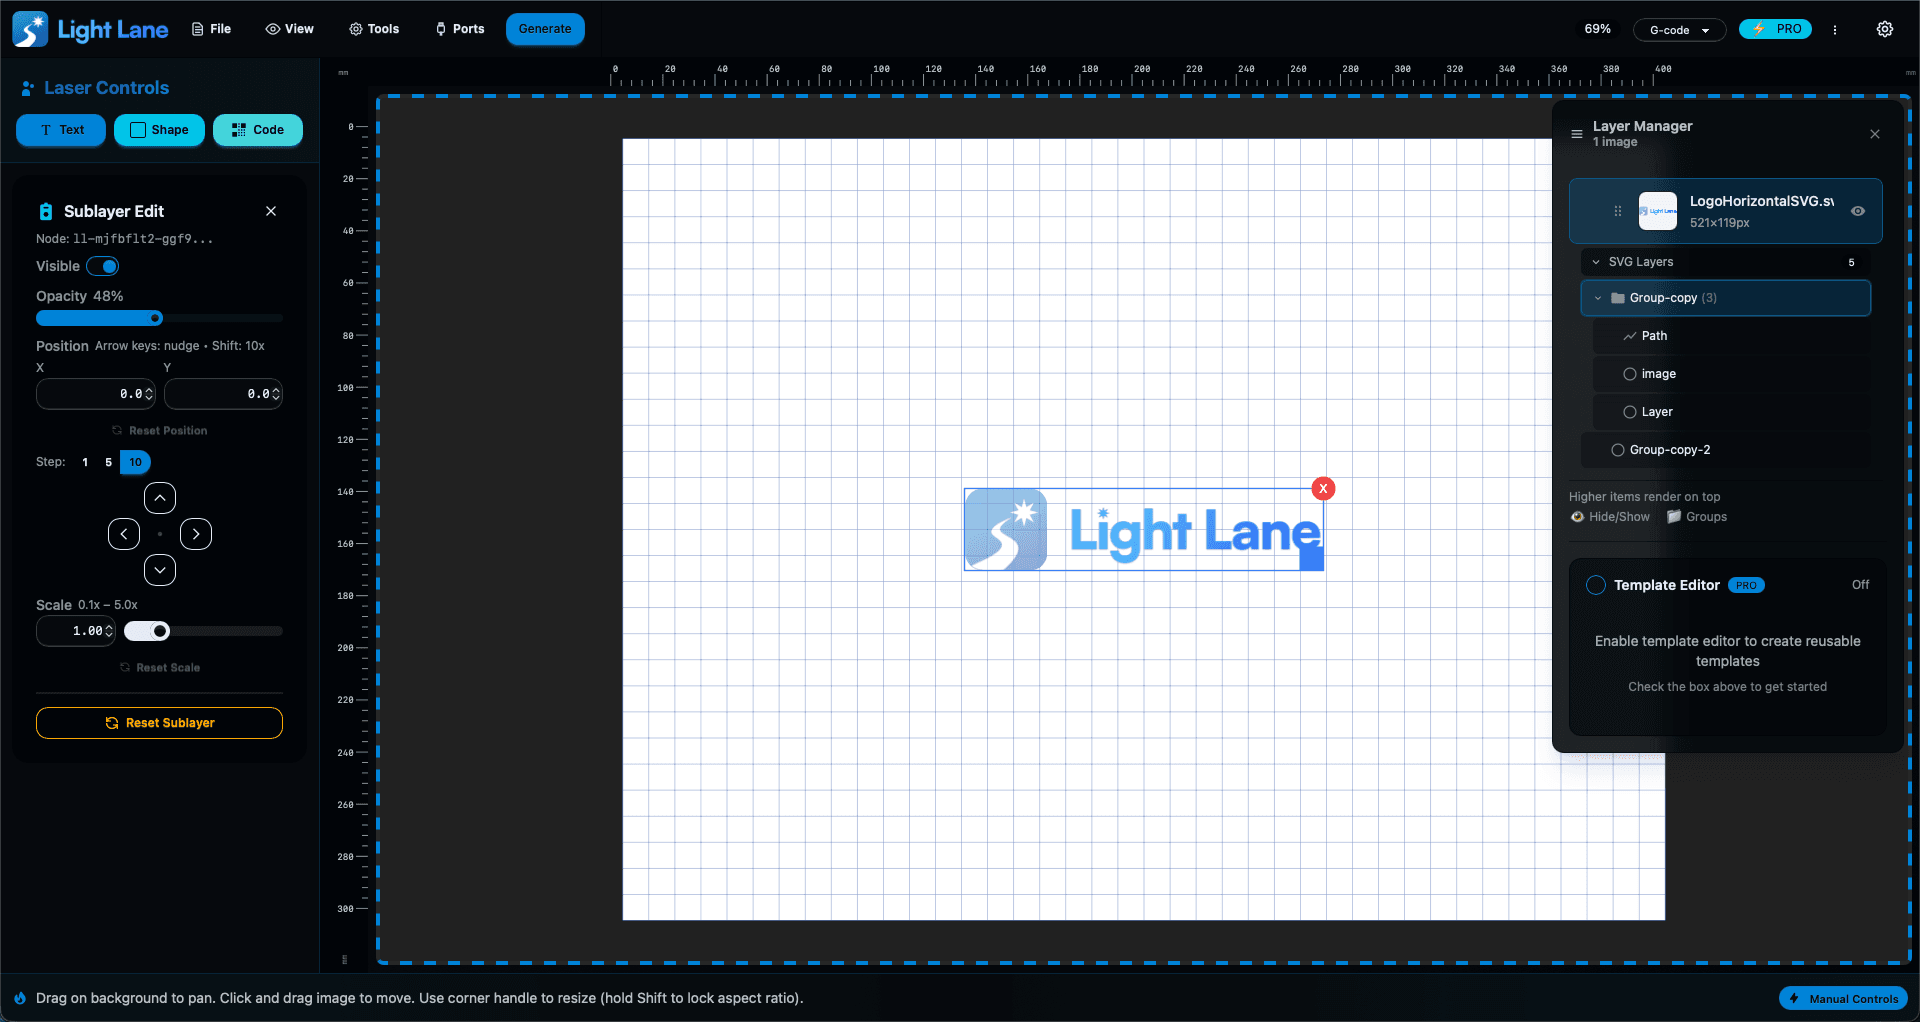
3) Opacity and visibility controls
This is where things get really practical for laser workflows:
- Opacity lets you fade elements for subtle engraving effects, watermark-style marks, or layout experimentation
- Visibility toggle lets you quickly create variants without duplicating files
For example:
- Hide a background shape to test a cleaner version
- Fade a guide element while you line things up
- Toggle parts of a design to test different compositions in seconds
4) Reset everything instantly
Every edit is reversible.
You can reset:
- Position
- Scale
- Opacity
- Visibility
So you can experiment aggressively without worrying about “wrecking” the original SVG.
Why this is a big deal in practice
This feature is about momentum.
Laser design is iterative. You rarely nail a layout perfectly on the first drop. The fastest workflow is the one where you can adjust the exact part that’s wrong and keep moving.
SVG Sublayer Editing helps you:
- Dial in professional alignment quickly (especially for text and logos)
- Create variations of the same design without file chaos
- Make last-minute client tweaks without redoing your whole layout
- Iterate faster before you generate G-code, so the job you run matches what you see
And because it’s inside the same project, the whole process feels tighter. You’re not context-switching, you’re not exporting and re-importing, you’re just refining until it looks right.
Try it free
If you work with SVGs (logos, badges, signs, product marks), this is one of those features you’ll use constantly once it’s there.
Grab the free trial for Mac or Windows:
https://lightlane.app
And if you want to follow along with 12 Days of Light Lane, we’ve got 2 days left. Catch the full series here:
https://lightlane.app/blog