Today’s update is a big one.
Raster engraving is where most laser software falls apart in real-world use. Photos look washed out or muddy, fine text “bloats” into blocks, and you end up wasting time doing test burns and tweaking settings that never quite feel consistent.
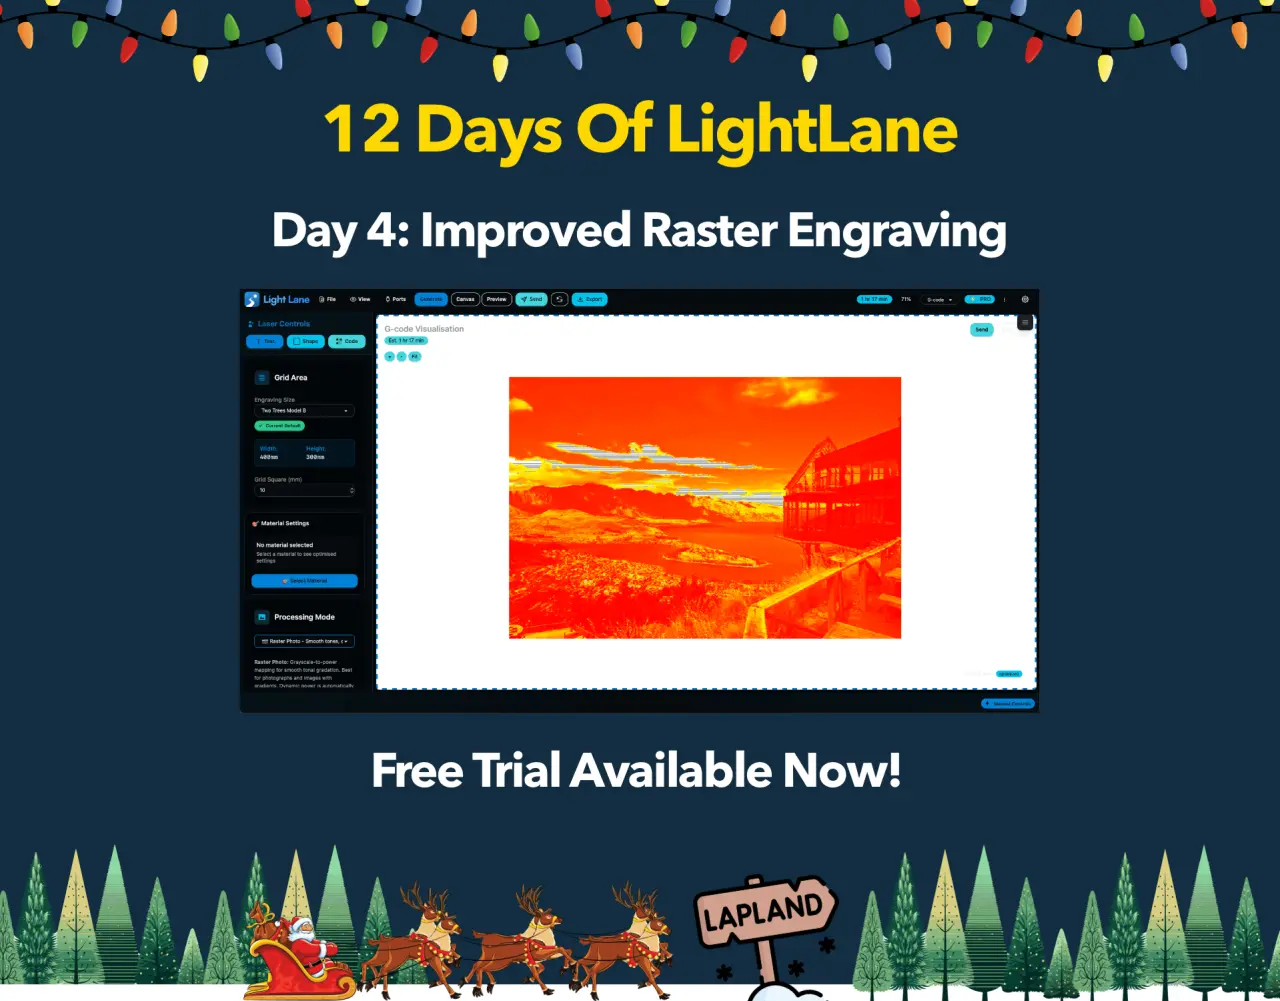
So for Day 4 of 12 Days of Light Lane, we’ve shipped a major upgrade to Light Lane’s raster workflow with two dedicated modes:
- Raster Photo for smooth tones and clean gradients (with dynamic power)
- Raster Detail for sharp, high-frequency detail like tiny text and crisp edges
If you engrave photos, logos, labels, tags, or anything with detail, this is one of those updates that immediately changes the results you can reliably get.
Free trial is live now: here
What changed (and why it matters)
Raster work is deceptively hard. You are converting pixels into a laser path, at a specific DPI, at a specific feed rate, while trying to preserve contrast and detail on a material that behaves nothing like a monitor.
This update focuses on three real problems engravers deal with every day:
- Fine detail collapsing (text and micro detail turning into chunky blocks)
- Tones not translating (photos losing the “real” shape of the image)
- Slow, unclear previews (hard to tell what the machine will actually do)
This release attacks all three.
New: Raster Photo mode (smooth tones, clean results)
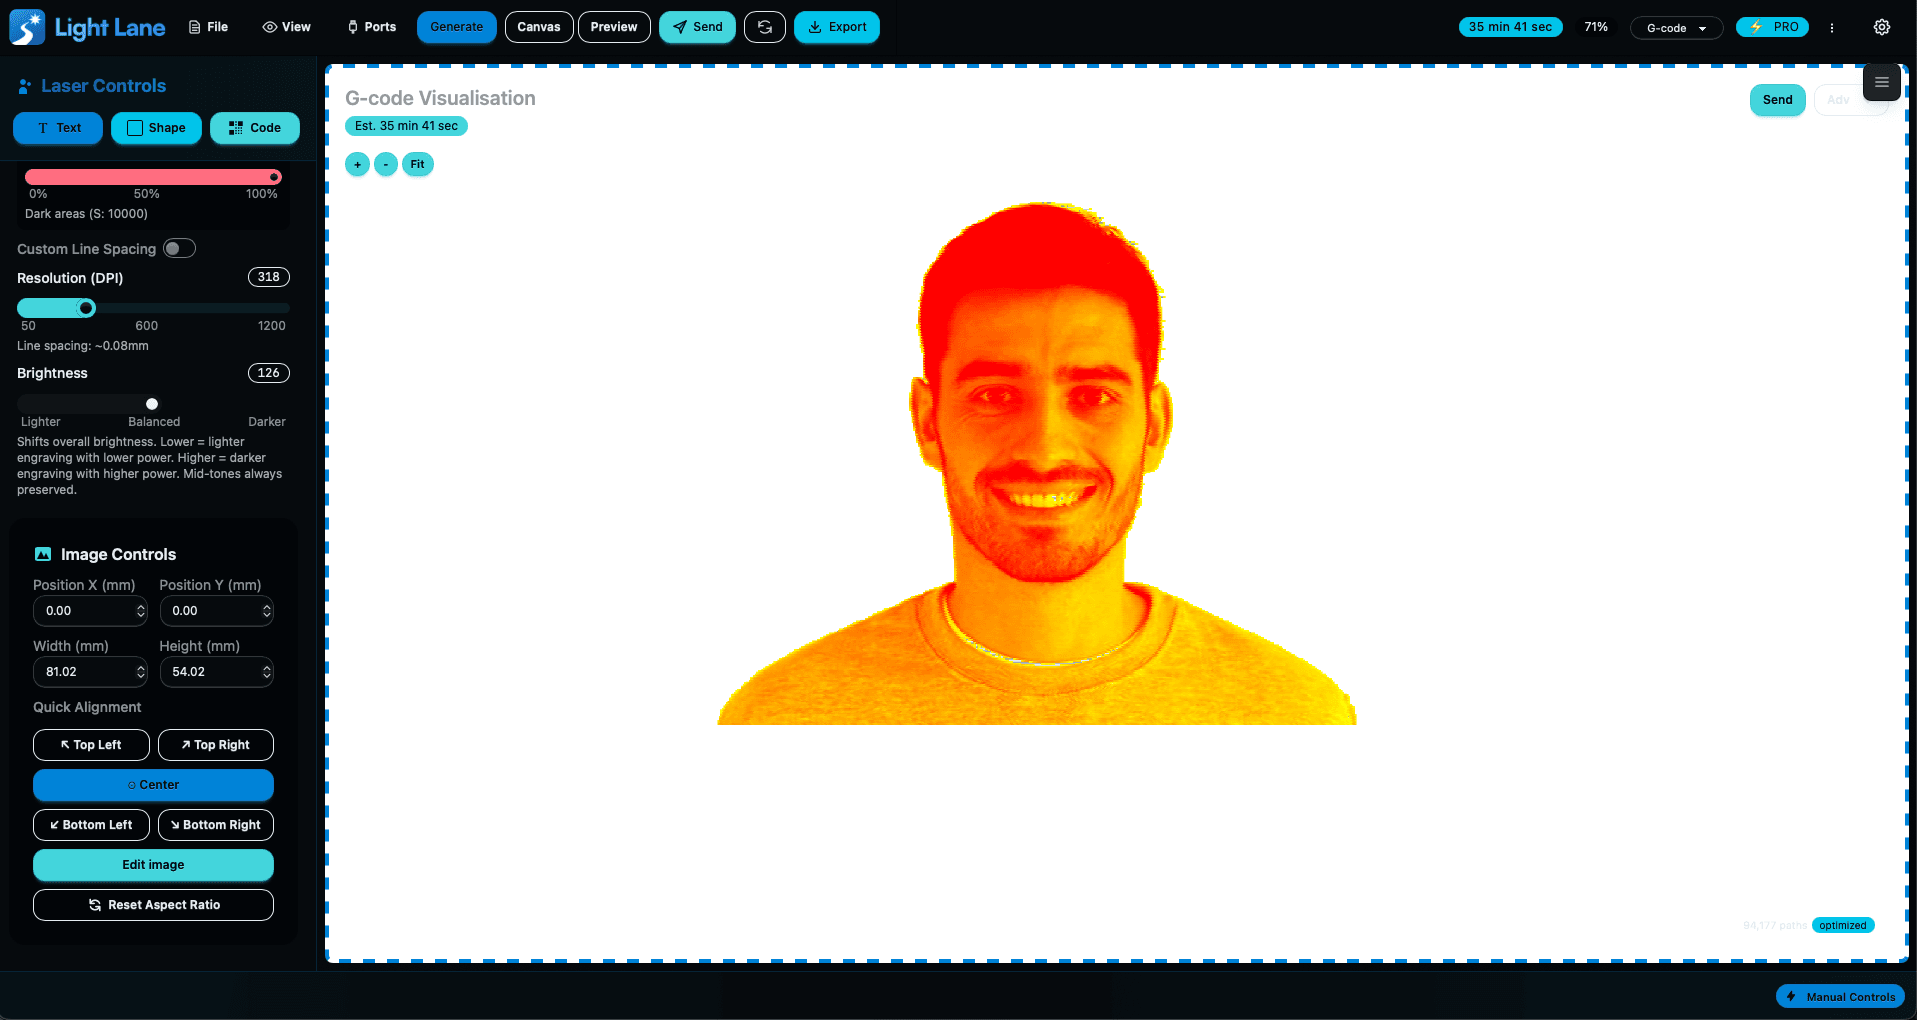
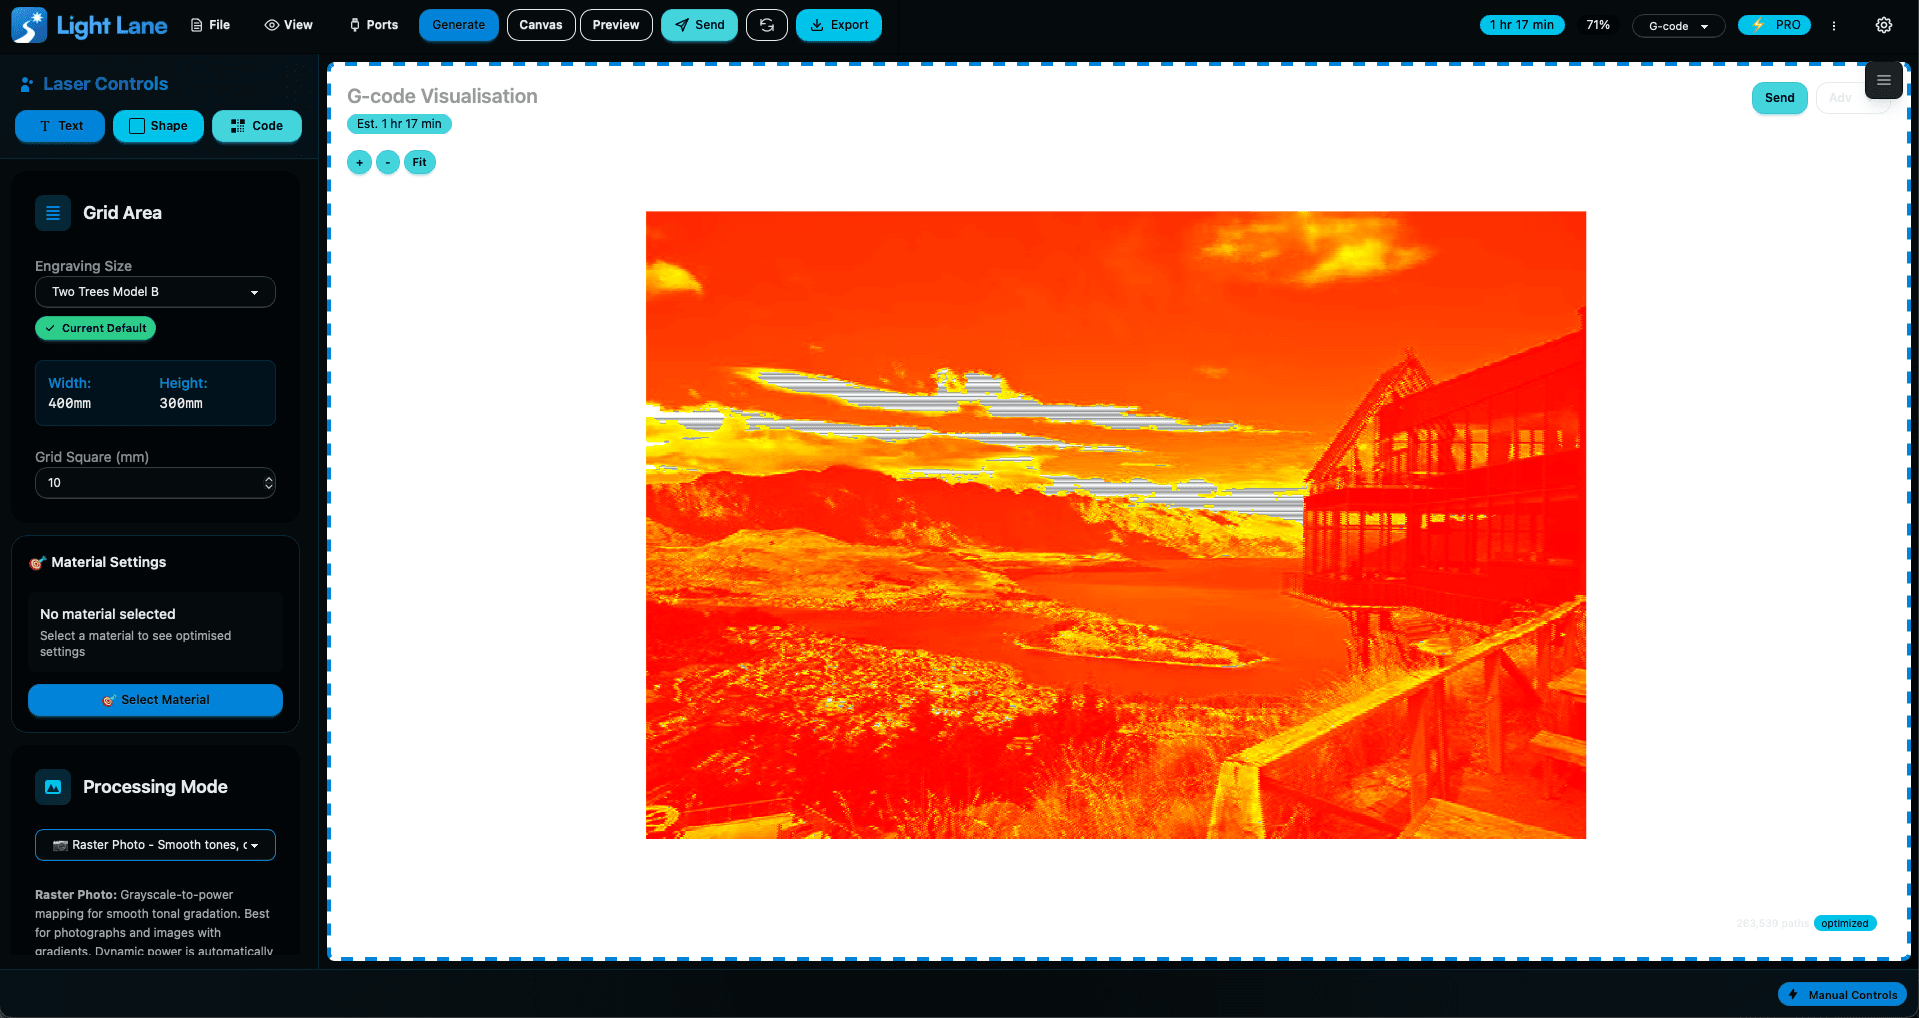
Raster Photo is designed for photos and anything with lots of tonal variation. It aims to translate the image more faithfully into an engraved result by using dynamic laser power so lighter areas burn lighter and darker areas burn darker.
Why this matters
- Better gradient handling
- More natural-looking faces and landscapes
- Less “all-or-nothing” burning
- Cleaner transitions in mid-tones
This is the mode to use when the goal is “make it look like the photo”.
New: Raster Detail mode (tiny text + sharp edges)
Raster Detail is for cases where photo-style smoothing can actually hurt you. Things like:
- Small text inside a large image
- Fine line art
- High-contrast graphics
- “Busy” designs with lots of micro edges
This mode is tuned to preserve fine detail so results stay crisp instead of blending into a blob.
If you’ve ever engraved a design where the tiny text becomes unreadable, this mode is for you.
New preview system: power heatmap + path visualisation
Light Lane’s preview now gives a much clearer view of what the laser will do.
Laser power heatmap
The preview shows a colour gradient for power:
- Red = higher power
- Yellow = medium power
- Green = lower power
…and it blends smoothly between them.
This makes it obvious where the software is pushing harder, backing off, or feathering transitions.
Faster preview rendering
Previews are now optimised to feel fast, even on heavier jobs.
Under the hood, Light Lane converts the preview output into a faster-to-render format so you can iterate without waiting on the UI. It also shows laser travel paths as subtle grey lines so you can sanity-check movement and efficiency.
Try it today (free trial)
You can test Day 4 right now with a free trial:
https://lightlane.app
12 Days of Light Lane continues tomorrow
This is Day 4. There’s more coming.
The point of 12 Days of Light Lane is shipping real improvements fast, based on what engravers actually need. If you try the new raster modes and want a specific control, material tuning, or export tweak, tell us. Early users have the biggest influence on what gets built next.
What feedback helps most
If you try this update, send:
- Machine model + controller (GRBL, etc)
- Material (ply, acrylic, anodised, leather, slate, etc)
- DPI you typically run
- What you mainly engrave (photos, tags, signage, products)
That helps us tune this for real use cases, not just perfect demo images.
Free trial: here